We have all learned the old adage: “Measure twice, cut once.” It is always worthwhile to double-check your information before diving into a project. This applies to everything from building a birdhouse to building a skyscraper. In our industry, it certainly applies to coils and tube bundles. Coils are used to heat up or cool down air that passes through them. Tube bundles are submerged heat exchangers, either in a shell or a tank. Designed and selected correctly, these components can last for years and years. However, it only takes a simple mistake to turn a replacement project into a maintenance headache.
Heating coils typically use steam or hot water as the heat transfer medium. Cooling coils can use chilled water, or they may be a direct expansion, or “DX” coils. Tube bundles in tanks often use steam to maintain a temperature in the tank. In a shell & tube heat exchanger, steam is often used in the shell to raise the temperature of the media flowing through the bundle. No matter what the application is, there are certain principles that go into the correct selection. So, when the time comes to replace an existing equipment, there’s a lot more to select than just the overall dimensions. Coils and bundles can be deceptively tricky. Let’s take a look at some simple mistakes to avoid when replacing coils:

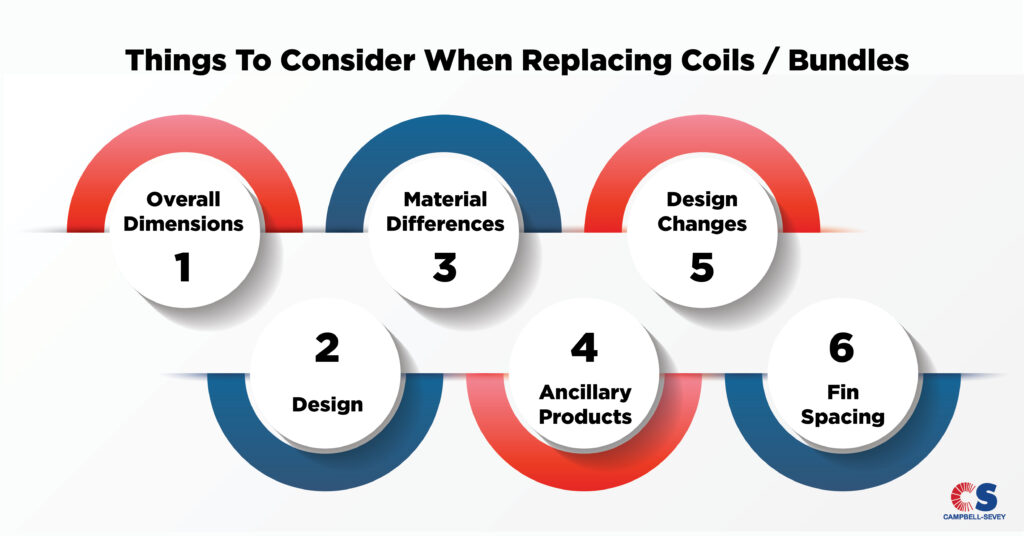
Overall Dimensions – This may seem like an obvious statement, replacement coils and bundles must fit in the same space that the old one came out of. It can be easy to measure the face area of a coil and forget about the flange spacing around it. Or, someone may count tubes and rows in a coil and forget to measure the depth of the coil. A replacement tube bundle may have the correct length, but the wrong tubesheet diameter. Any minor variation in the overall dimensions can make for a time-consuming and costly installation. In the worst-case scenario, components may need to be scrapped and ordered again.
Design – Just because a coil or bundle fits in the space, doesn’t mean it’s right for the job. A water coil typically fills from the bottom up and can be pitched perfectly level. A steam coil must have the condensate outlet at the bottom of a header, and either have integral pitch, or be pitched in the field to allow for adequate condensate drainage. To the untrained eye, these two types of coils may look too similar to distinguish a difference. Sometimes, a “spare” coil is checked for dimensions and installed, without any thought of the original design. Using the wrong type of coil can lead to uneven heat distribution, wear on the coil, and damage due to freezing and failure. Tube bundles may be double- or single-walled. They may be a 2- or a 4- pass bundle. To the untrained eye, these mistakes are easy to make.
Material Differences – Another adage to consider is “Buy nice or buy twice.” Often times, replacement coils and bundles are supplied with very thin tubewall thicknesses, or the cheapest material available. Depending on the service, you may be able to considerably extend the life of your equipment by increasing the material thickness, or by using a more durable material.
Ancillary Products – Often, a coil failure is the fault of another piece of equipment entirely. If a coil froze, it may be due to a failed steam trap, vacuum breaker, or control valve. Erosion at the bends of a coil may be due to excessive internal velocities. Corrosion on the fins of the coil could be due to air quality or filtration issues. Improper venting and trapping of a heat exchanger can cause unnecessary stresses on a tube bundle. Whenever a component needs to be replaced, it’s worth inspecting all the equipment around it, to make sure the conditions aren’t set up for a repeat failure.
Design Changes – Coils and bundles are typically designed for a specific application. Often times, over the life cycle of a facility, those applications change. So, it’s worth revisiting the original design of the coils to make sure that they are capable of their demanded output. Water flow through a heat exchanger may have increase or decreased. Inlet steam pressure and water temperatures are sometime changed. Air flow could be increased or decreased. The percentage of outside air coming into a unit can be changed as well. Many facilities have increased their ventilation requirements in order to help prevent the spread of infectious diseases. They have to make up that air somehow, so coils that used to only see 30% outside air are now seeing 80% outside air. This can create more demand for heat than the existing system can handle.
Fin Spacing (FPI, or Fins per Inch) – The fins on a coil can help fine-tune a coil into its “sweet spot.” Increasing the number of fins on a coil adds surface area, which in turn, increases the overall heat transfer rate. Unfortunately, this also increases the airside pressure drop and can make the coil more susceptible to dust buildup on the coils. So, this is a crucial measurement to take when replacing a coil. It’s also crucial to check against current design requirements. Adjusting the fin spacing can be a great way to make up for those design changes.
Please, learn from the mistakes of others and don’t let a brand-new coil or bundle end up in the “graveyard.” The next time you have a coil or bundle that you think may need to be replaced, call an expert at Campbell-Sevey to help you take the “guess work” out of your coil replacement. You can also use our tube bundle worksheet to help you get started with an estimate before the expert even shows up!

